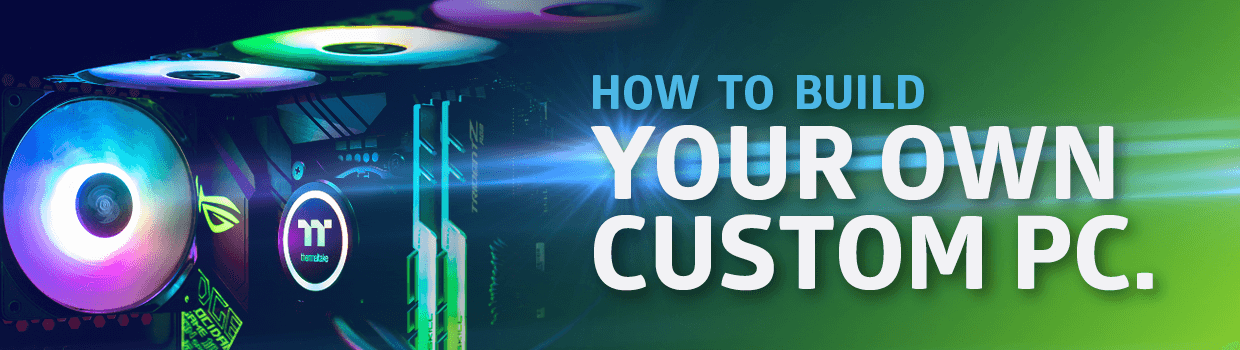
Building your custom gaming setup: What you need to know
So, you’re ready to take your gaming to the next level and build your very own custom gaming setup… but you’re not 100% how or what you need to get started. Well, we’ve got you covered.
The amazing thing about building your own custom setup is that it’s all about making it work for you and getting started is all about deciding what you want to get out of your gaming experience. The building process can be quite daunting but fear not, it’s all about trial and error and if at first you don’t succeed, try and try again.
Budget
Building a quality custom setup is an investment in your gaming experience, but it can come with a hefty price tag – which is why we recommend setting yourself a budget. A budget will help you put your build into perspective so that you can prioritise what components you’re going to spurge on and what brands you’re going to choose.
It’s all about the components
Once you’ve decided on a budget, it’s time to get to the fun part: choosing your components. And, as every gamer knows, when it comes to building the perfect setup, choosing the right parts – from the heavy hitters like CPU and GPU to the smaller, yet no less important, parts like your SSD and RAM – can make or break your gaming experience. Plus, with All Star Gaming, you have the option of choosing each part individually or purchasing a built to order setup, which comes kitted out with everything you need.
All on board the motherboard
At the core of your custom gaming setup lies the hardware which forms the backbone of your PC and the real power behind your gameplay. At the centre of this is your motherboard, where you’ll connect your core components like your CPU, CPU fans, RAM and SSD. Choosing a high-performance motherboard, like the Asus ROG Maximus XIII Extreme Glacial, will enable your processors – and in turn your PC – to perform better.
One of the main powerhouses behind your PC, the CPU dictates how much power your machine will have. For example, the latest Intel Core i9-11900K, is optimised for gaming performance and is designed to give you next level overclocking (for that added performance boost) and frame rates.
Also connected to your motherboard is the RAM (which improves responsiveness and frame rate) and the SSD memory (which will improve the overall speed of your system and store your system files and games). It’s recommended you start with at least 16GB of RAM or, if you’re after better gameplay, look at something like the Corsair VENGEANCE RGB PRO which offers a whopping 32GB of RAM. Choosing the right SSD, like the state-of-the-art Seagate Firecuda 520 1TB, will grant you ferocious speed, banish long loading times and completely elevate your gameplay.
Graphics are key
The next, and arguably most important part of your gaming setup, is your graphics card. This piece of hardware can make or break your gameplay and will be one of the pricier components you have to buy; but, with a high-performance GPU like the ASUS ROG Strix RTX 3070, you can play the most graphically demanding of games without a hitch, enjoy pristine visuals and an unbelievably high frame rate (FPS) – all of which massively improves your gaming experience.
And, while you’re at it, you’ll need to consider getting a monitor that can accommodate your high-performance graphics, like the ASUS VG258Q is a 24.5” Full HD gaming display, which will bring your graphics to life with ultra-fast response time and a higher refresh rate. After all, there’s no point in having a state-of-the-art graphics card and using a decade old monitor.
Powering up and cooling down
Next comes the Power Supply Unit - because none of these components can work without energy. The power supply connects to the mains and then hands out power to the individual parts. You’re going to want to see how much power your PC will need and then find a power supply, for example the ASUS TUF Gaming 750W, that offers enough wattage to keep everything running smoothly. Just remember that higher performance parts require higher wattage to run.
The powerhouse components, including the CPU and GPU, use a huge amount of energy in order to run and, in turn, can get very hot. In order to prevent your gaming PC from cooking itself like a fried egg on a hot summer’s day, you’ll need to get a cooling system in place. Most importantly, is your CPU fan or liquid cooler, which is critical to your system running properly, followed by the cooling system – either a liquid cooling system (generally quieter) or an air cooling system depending on which you prefer. Plus, some cases also come ready equipped with fans for some additional airflow.
It’s boxing time
All these components need to be stored somewhere and that’s where the case comes into play. Specially designed to hold all the parts – and look good while doing it – there are a number of super cool cases on the market that you can choose from. Some cases are backlit with RGB lighting and others feature tempered glass displays (so you can see your components), like the Asus ROG Strix Helios GX601, while more unique options include all sorts of weird and wonderful shapes and a variety of colours.
Components, assemble!
The exact method of assembly of your custom gaming PC will vary depending on which components or brands you choose but, no matter what parts you have, you’ll need a screwdriver and plenty of patience. Get ready to study the manual as if it contains the answer to the meaning of life. From the early stages of assembling your motherboard and slotting in your CPU, RAM and SSD, to securing your graphics card into your case, setting up your cooling system and connecting your power supply, it’s all about taking the building process into your stride, following the steps set out in the manual – and making sure you connect all the cables to the correct port.
Accessories
Before you get ready to run your brand spanking new PC and press power, you’ll need to make sure you have all the right accessories to complete your gaming experience – from a gaming keyboard to an ergonomic gaming mouse – these are crucial elements for improving your gameplay and just using your PC.
Ready, set, go!
You’ve built your setup, connected the final cable and secured the final screw. Now all that’s left to do is plug it in, switch it on and watch as your custom gaming machine roars (or purrs) to life. Once it’s up and running, simply install the operating system of your choice, overclock your GPU and CPU (if your system allows it) and then get ready for a gaming experience that’s literally tailored to you.